Programmable Electronic Control Systems for Hobbyists and Students of Robotics
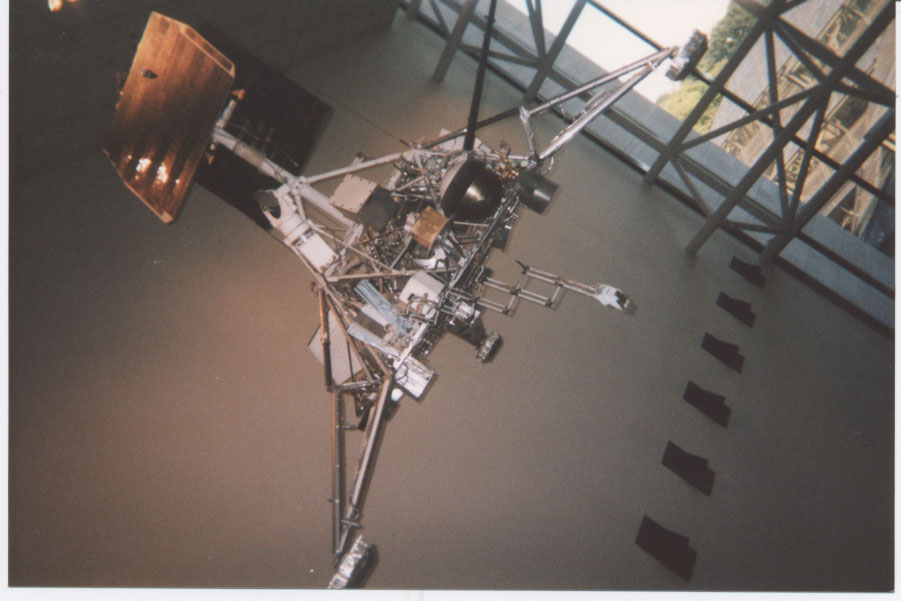
Surveyor Lunar lander spacecraft designed prior to Apollo
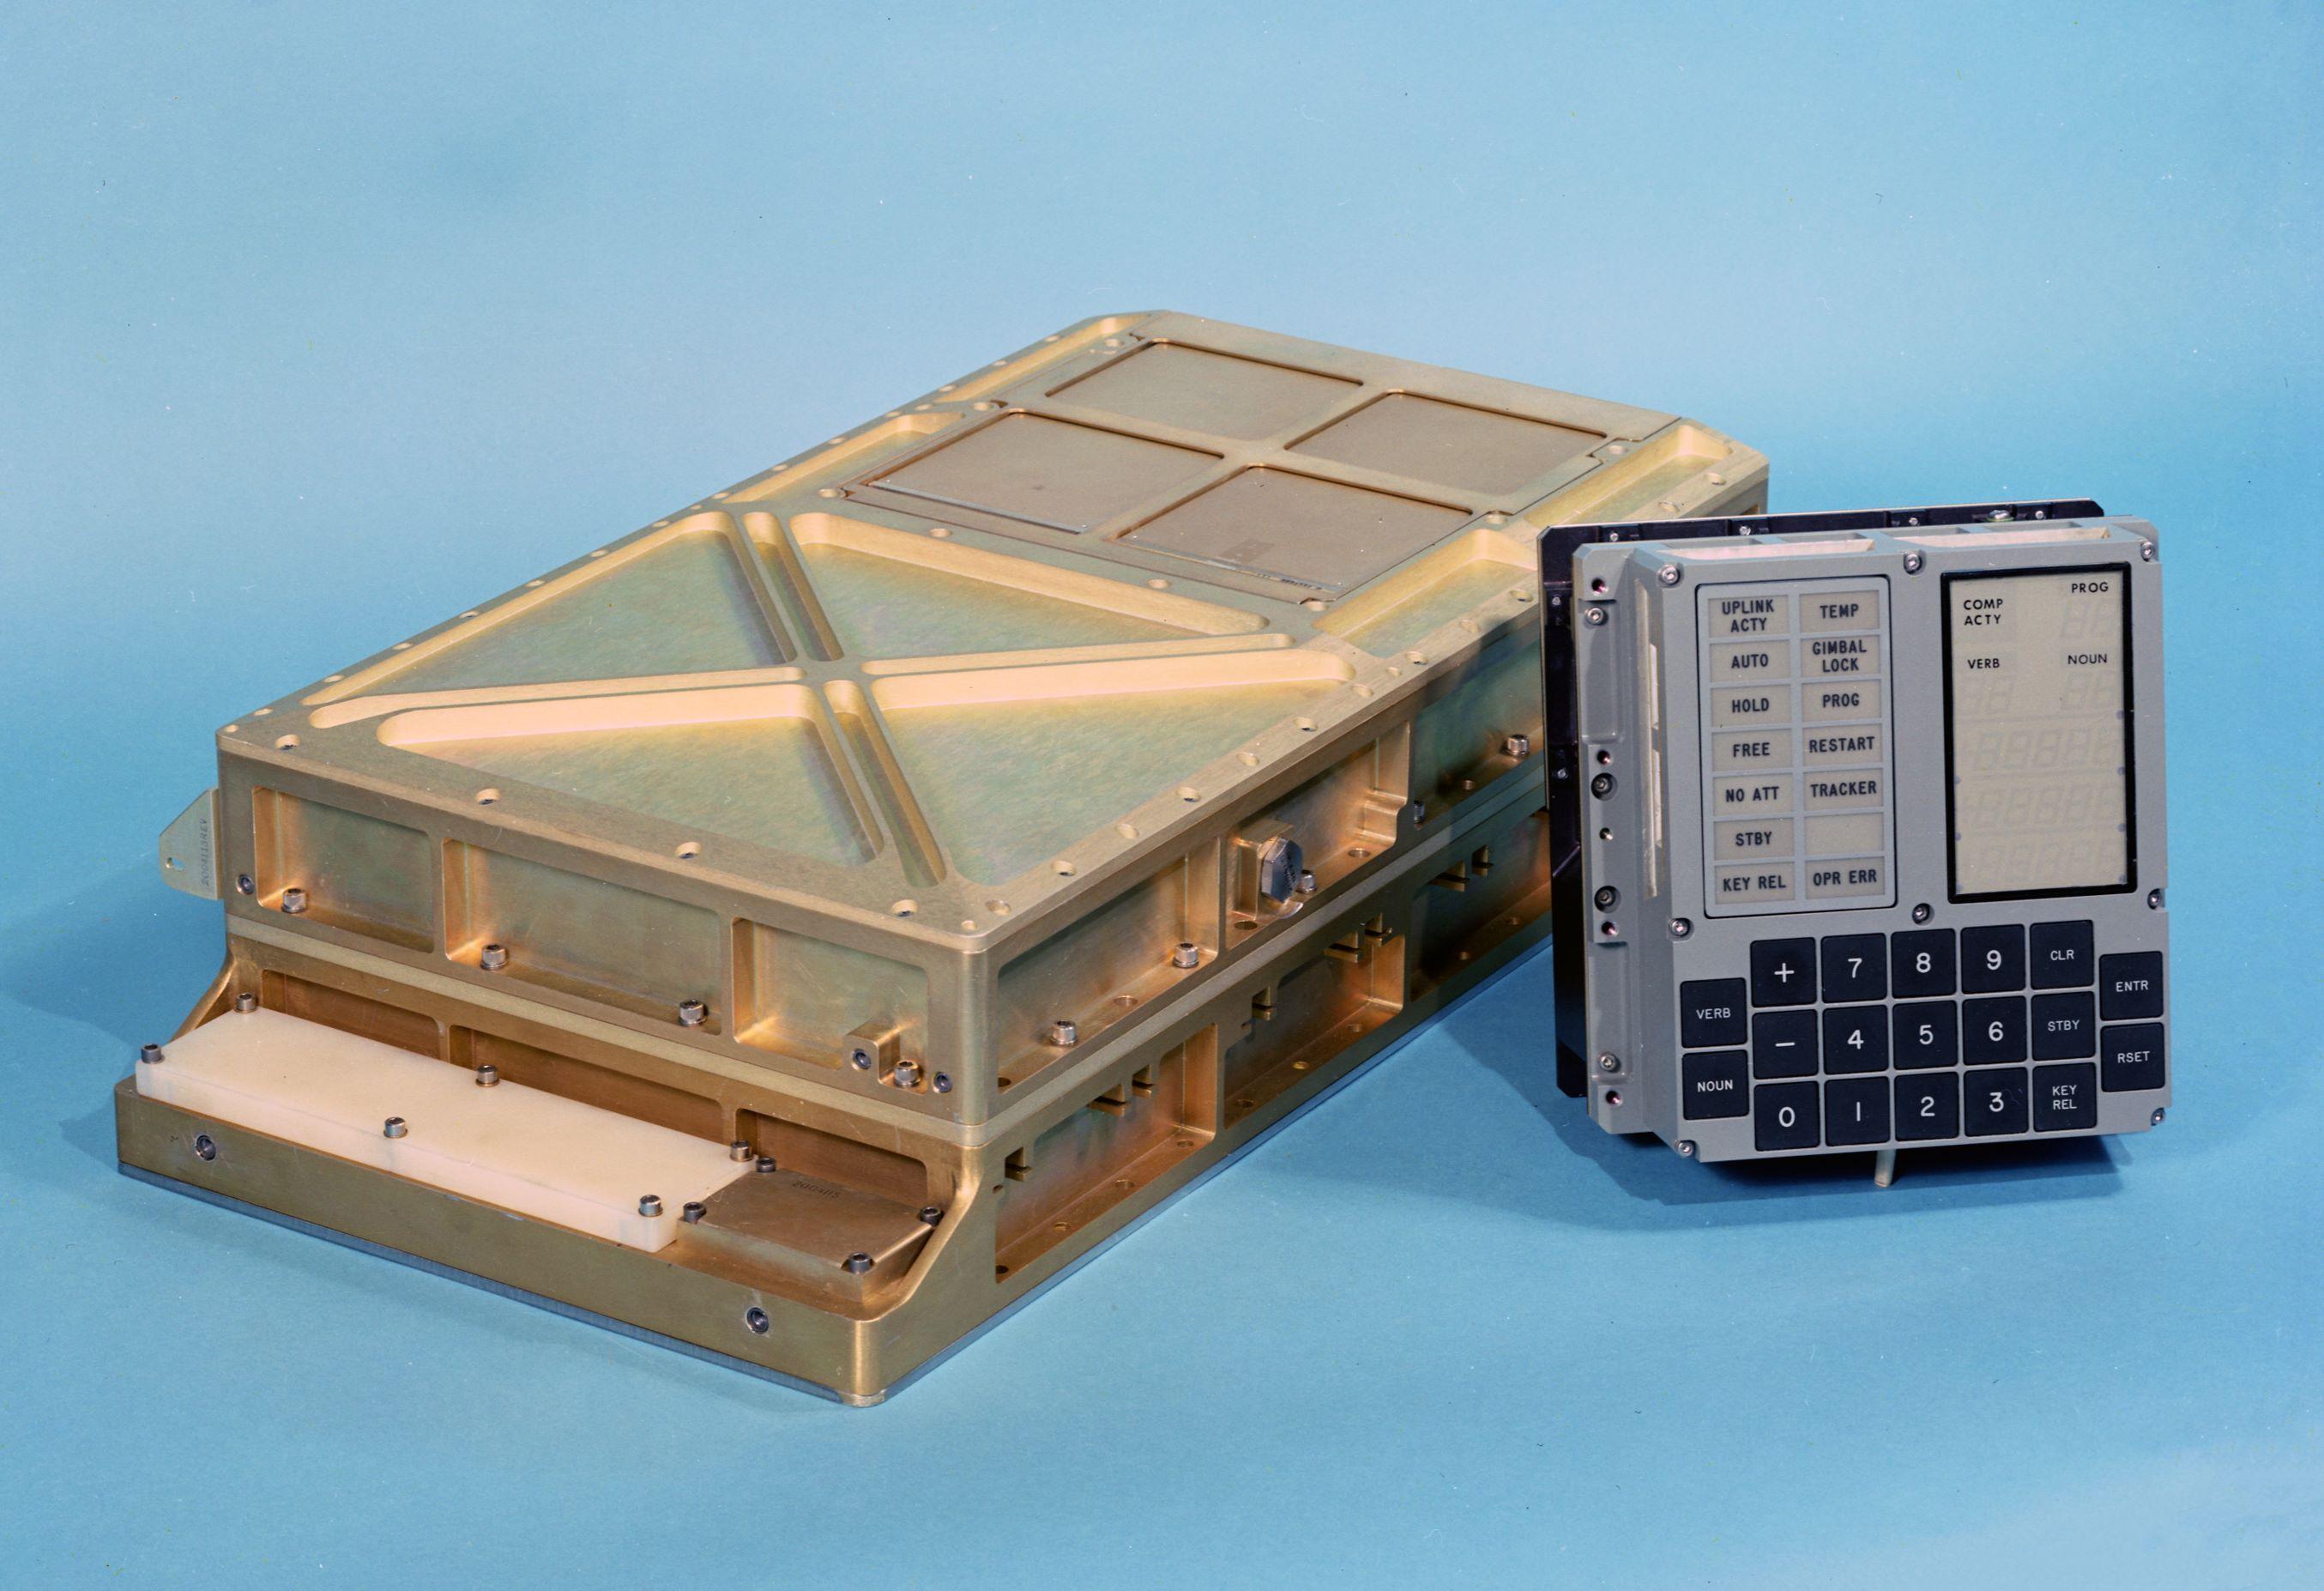
an AGC (Apollo Guidance Computer)
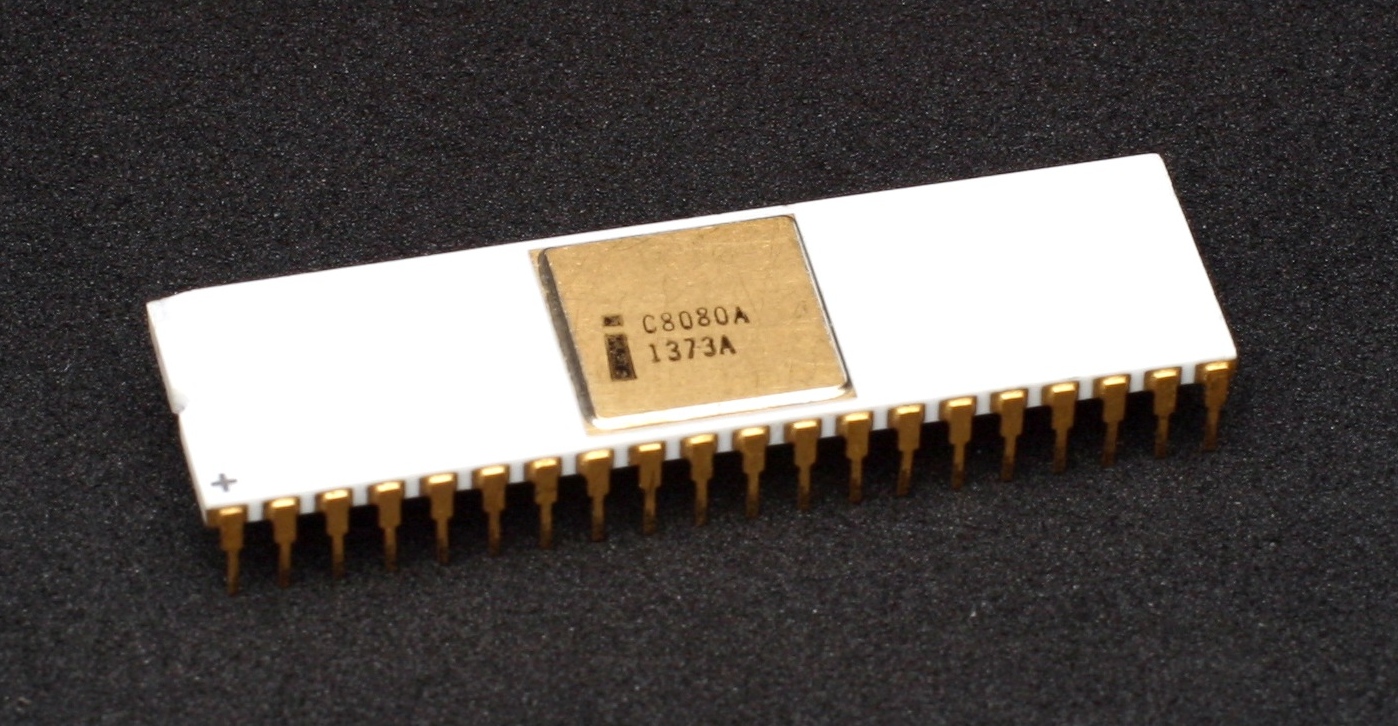
an Intel 8080
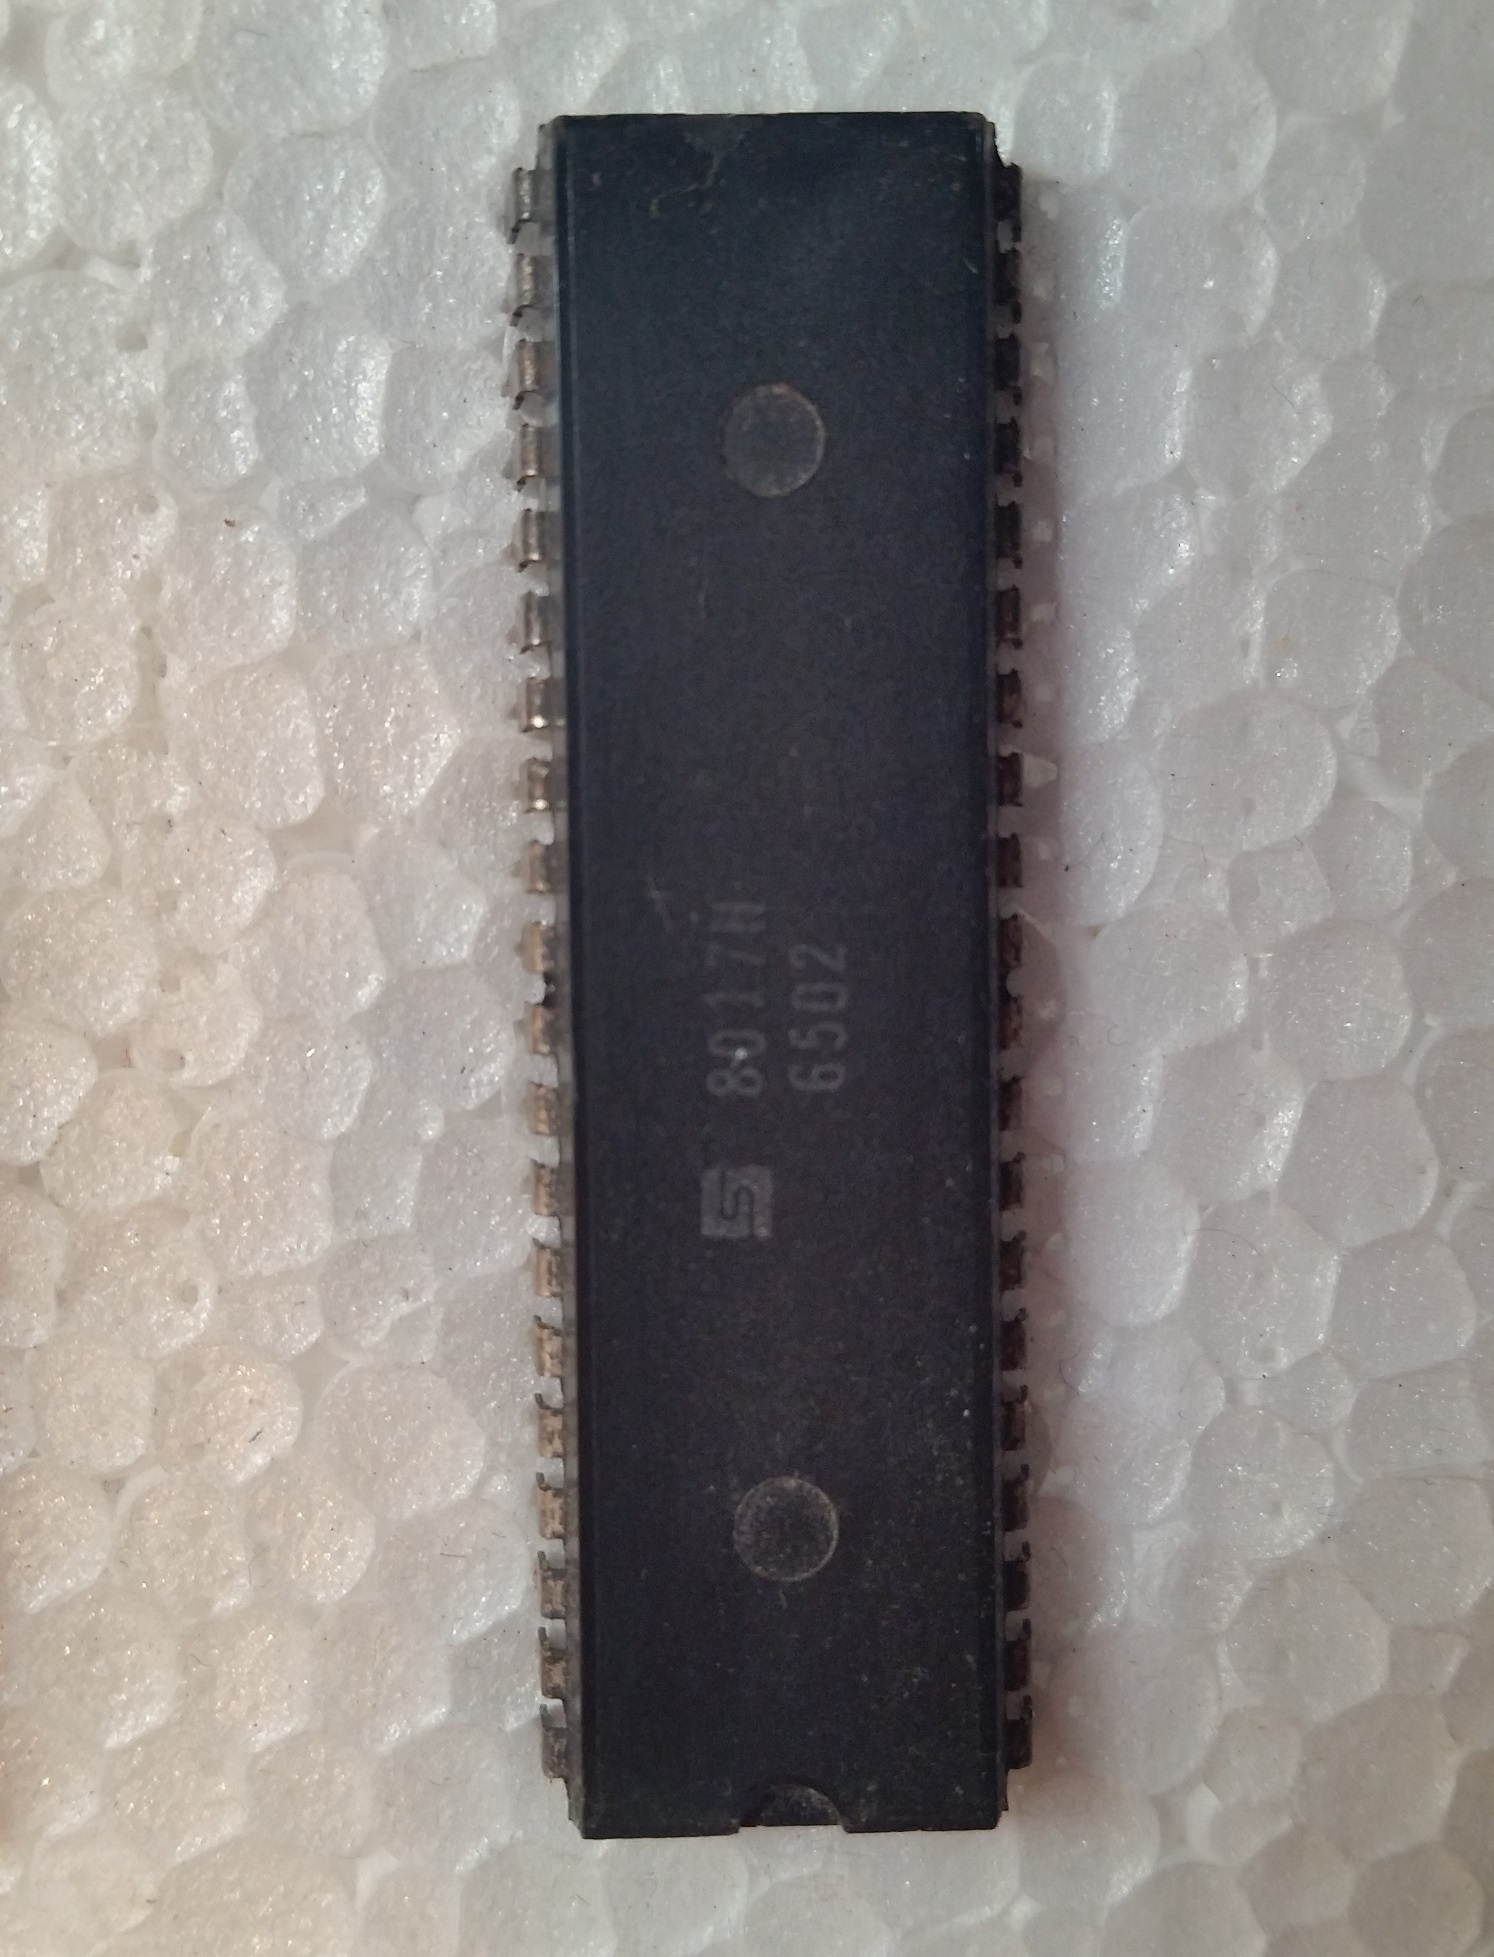
MOS Technology 6502
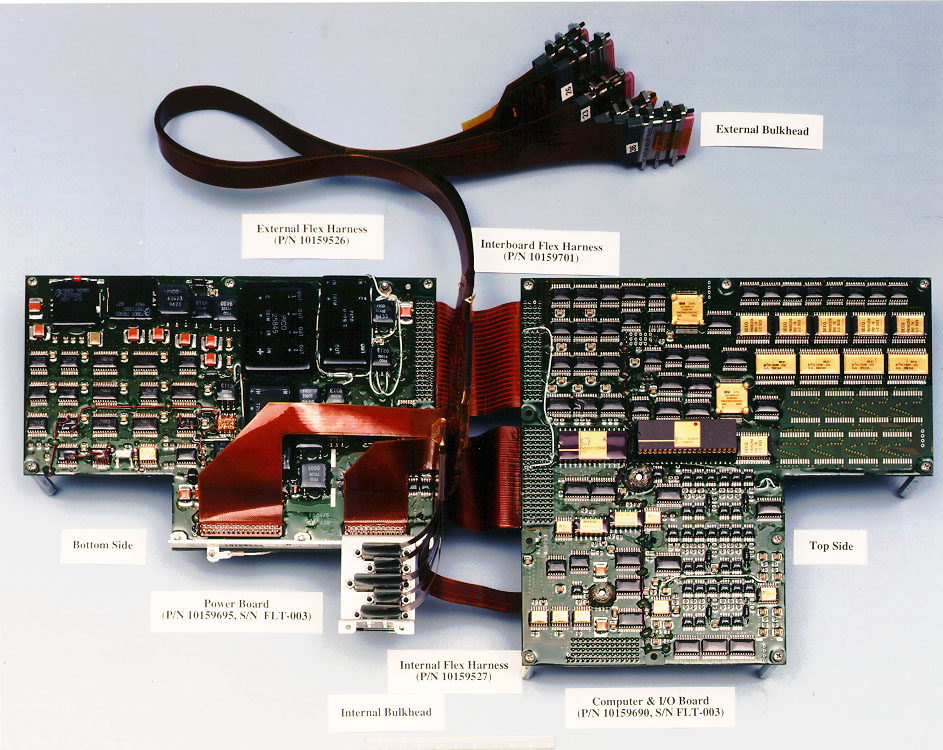
A control system controls the behavior of subsystems in a device or craft. Control systems or navigation, guidance, and control systems have been used in spacecraft since the beginning of the space age, although they haven't always been what we think of as computer based control systems of today. The first spacecraft used mechanical timers or simple RC (resistor/capacitor) circuit timers for initiating mechanical activities. They focused on sequencing activities based on an amount of elapsed time. These systems were thus referred to as sequencing and control systems. Attitude control electronics were generally non-linear analog "computers" which were used to switch on and off control thrusters and point instruments.
The computer developed for use in Apollo spacecraft, the Apollo Guidance Computer (aka AGC ), was revolutionary because it used digital logic gates on integrated circuits, ICs, or just chips, making it very small with low power consumption compared to other digital electronic computers of the time. It was also part of a more complex system referred to as a navigation, guidance, and control system because it had sensors such as an inertial navigation system, in addition to timers, that fed data to the guidance computer which in turn opened and closed valves for rockets and thrusters.
Electronics makers continued to condense digital electorincs beyond digital logic gates on chips to the point that Texas Instruments (aka TI) and Intel were each able to produced a computer processor on a chip, called a microprocessor. The TI TMS 1000 microprocessor was embedded in a calculator TI sold, but was not available for direct purchase. The Intel 4004 microprocessor was available for direct purchase to build other devices from. Intel's 4004 microprocessor was followed by the 4040, the 8008, and then the 8080 which lead to the first popular personal computer. For embedded control systems, additional circuitry to run timers, control output ports, or to read instrument inputs were added to chips leading to devices called microcontrollers.
Since microcontrollers are typically low power digital circuits and electromechanical devices such as motors and solenoids can require higher power analog circuits, there is typically separate circuitry to control these devices. For example, in order to be able to switch the current direction to the motor you need a circuit called an H-bridge. An H-bridge could be built from scratch with transistors, but it's such a popular circuit that electronics makers condensed these into chips also.
Working Example
For students who want to experiment with a working example, if you want to build your own controller device, you could start with digital logic gates, but you probably want to leverage options that already incorporate a number of features. You can then wire these options up to electric motors, or solenoids, or lights that you want to control.
Five options to consider if you want to build a simple electronic controller are:
1) A Personal Computer
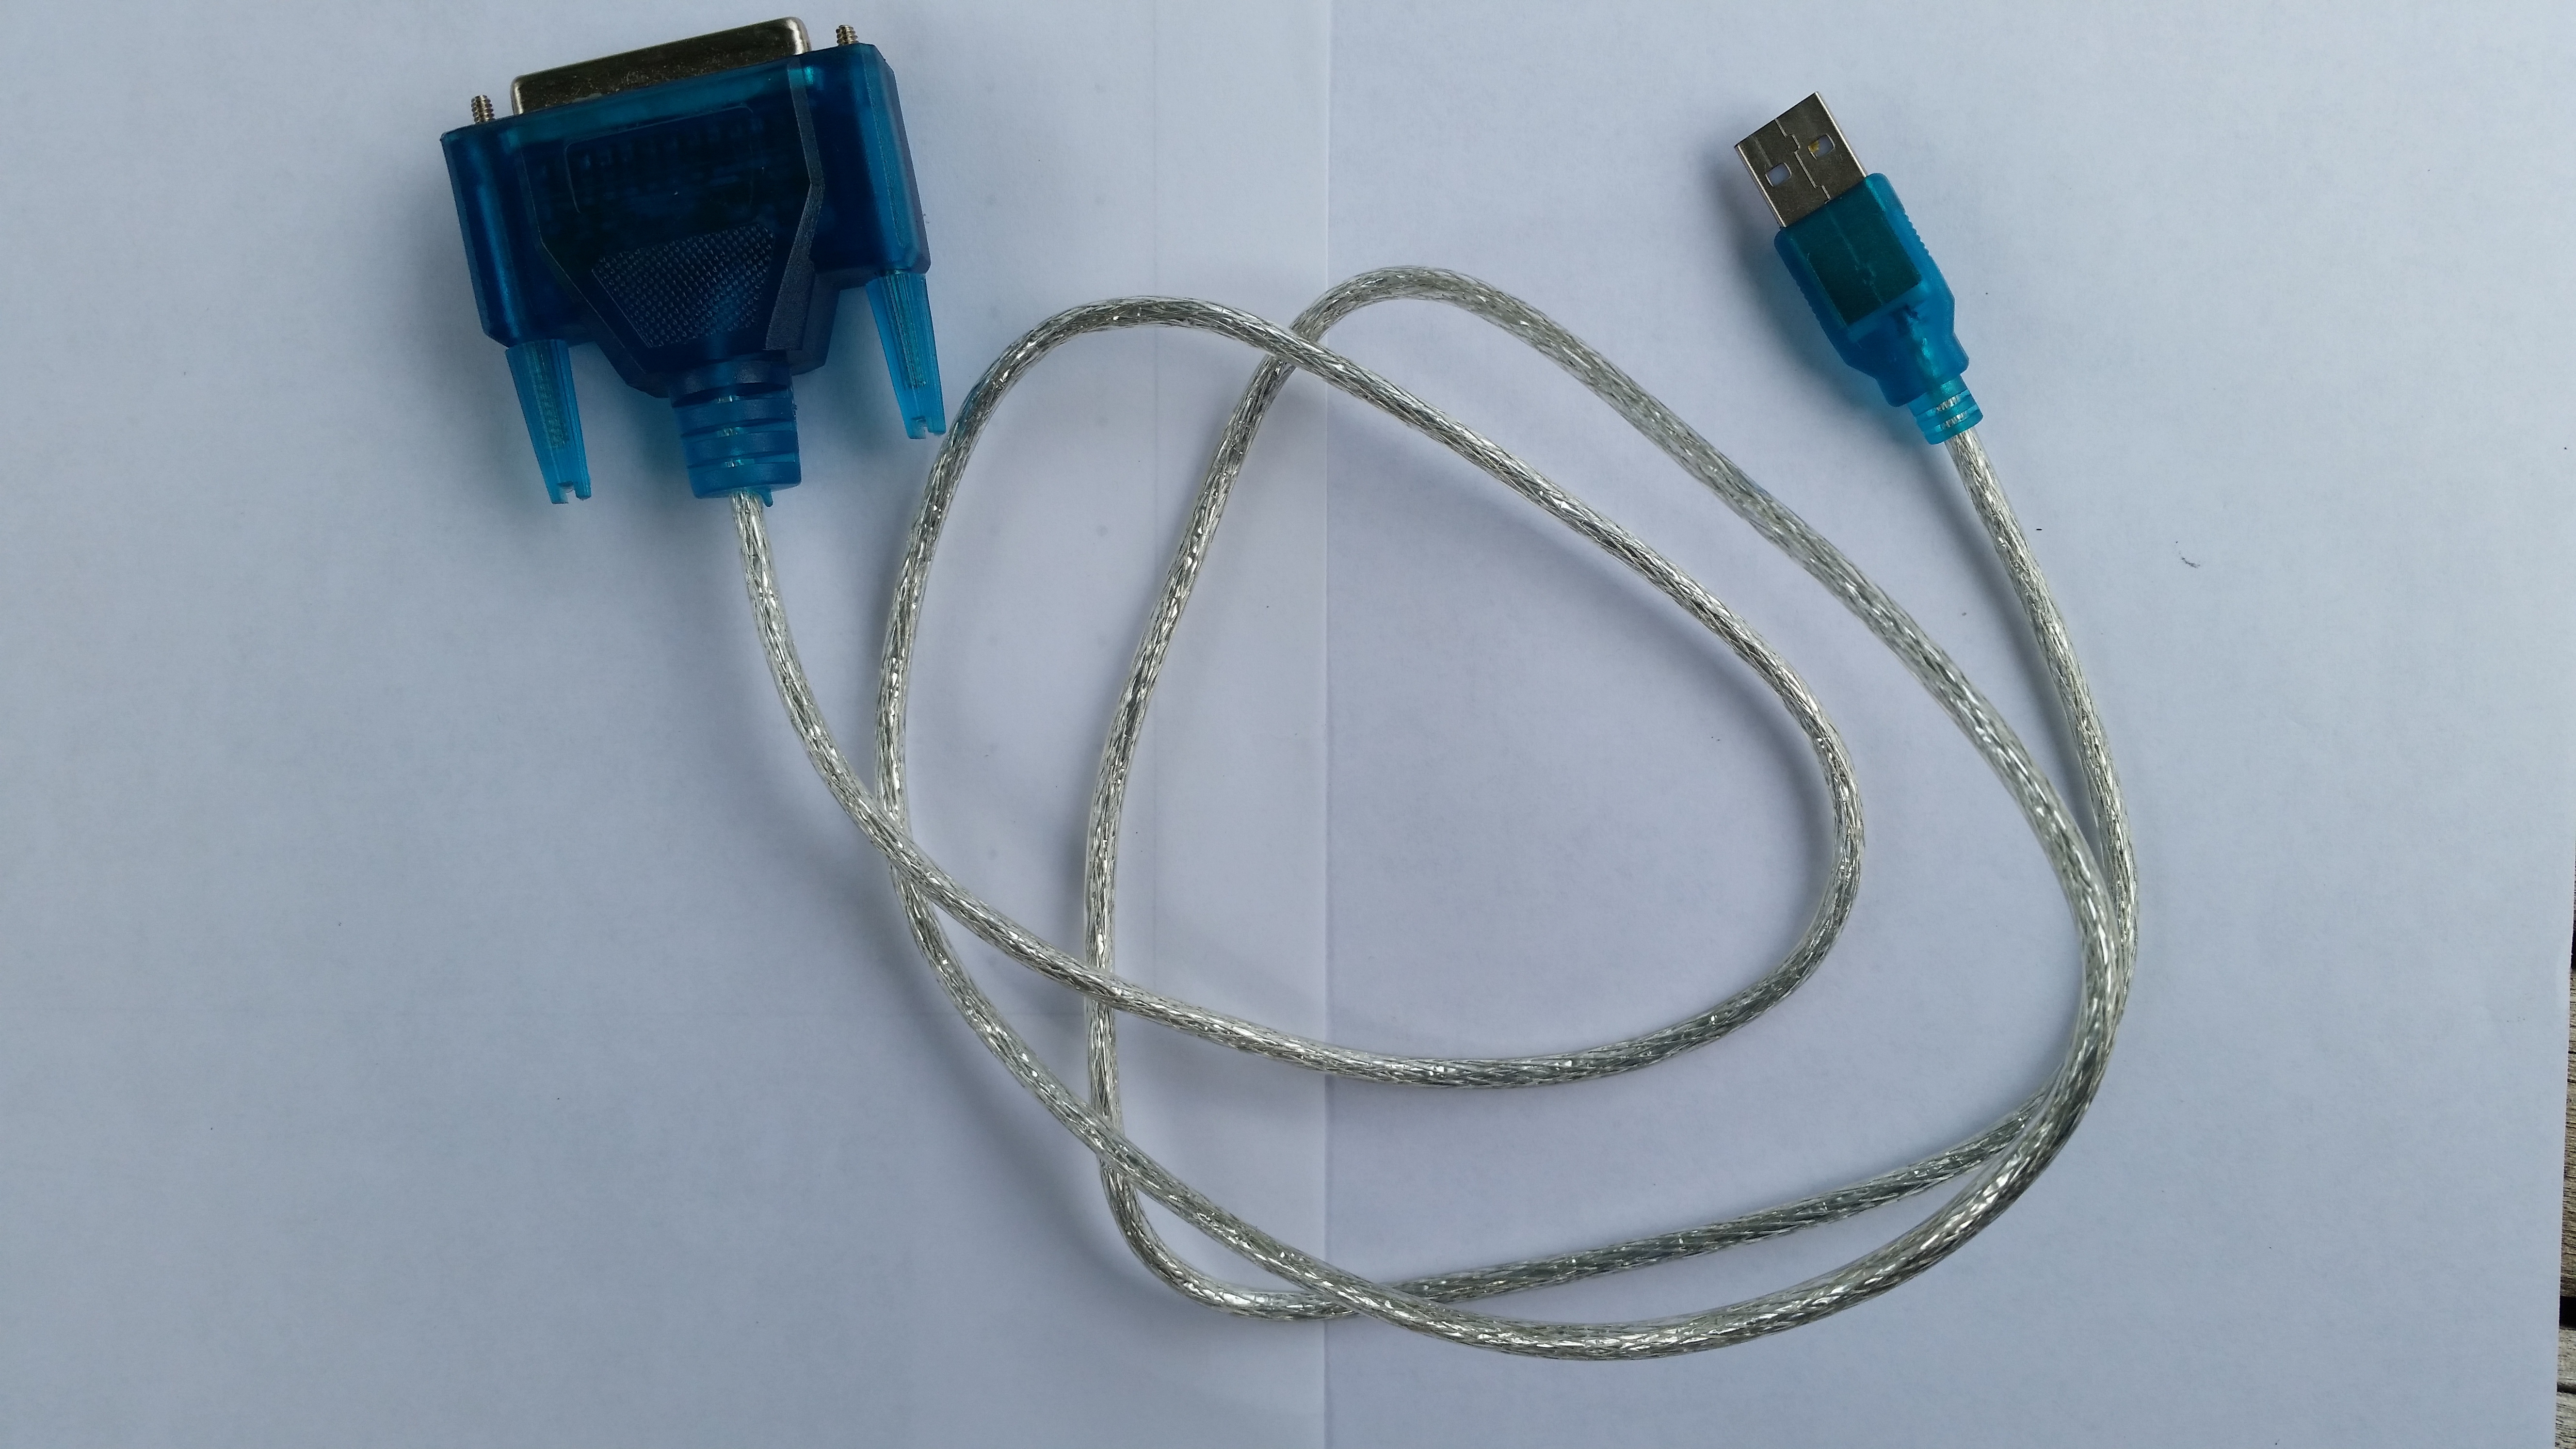
a USB to Parallel port cable for modern personal computers with USB support but no parallel printer ports
a) on an older computer, through a parallel port (also known as a Centronics port or IEEE-1284 port)
b) or on a newer computers, through a USB port using a USB to parallel port cable
If you don't need your controller to be mobile, this could be a reasonable option. A MACH3 CNC system is an example of a parallel printer port being used to control a CNC machine instead of a printer from a personal computer.
Early dot matrix printers had a print head consisting of a row of seven to nine metal pins connected to solenoids. When power was applied to the solenoids, the pin was pulled forward to strike the paper and leave a dot. The parallel port was designed to make it simple to set (raise to a high voltage) or clear (lower voltage to ground) the power to these solenoids. However, instead of a printer head, a parallel port could control any number of other items like turning on an electric motor for a wheel on a robot or switching on or off a control valve for a thruster on a spacecraft.
You can read more about these approaches at PC USB Controller, .
2) A Smartphone or Tablet
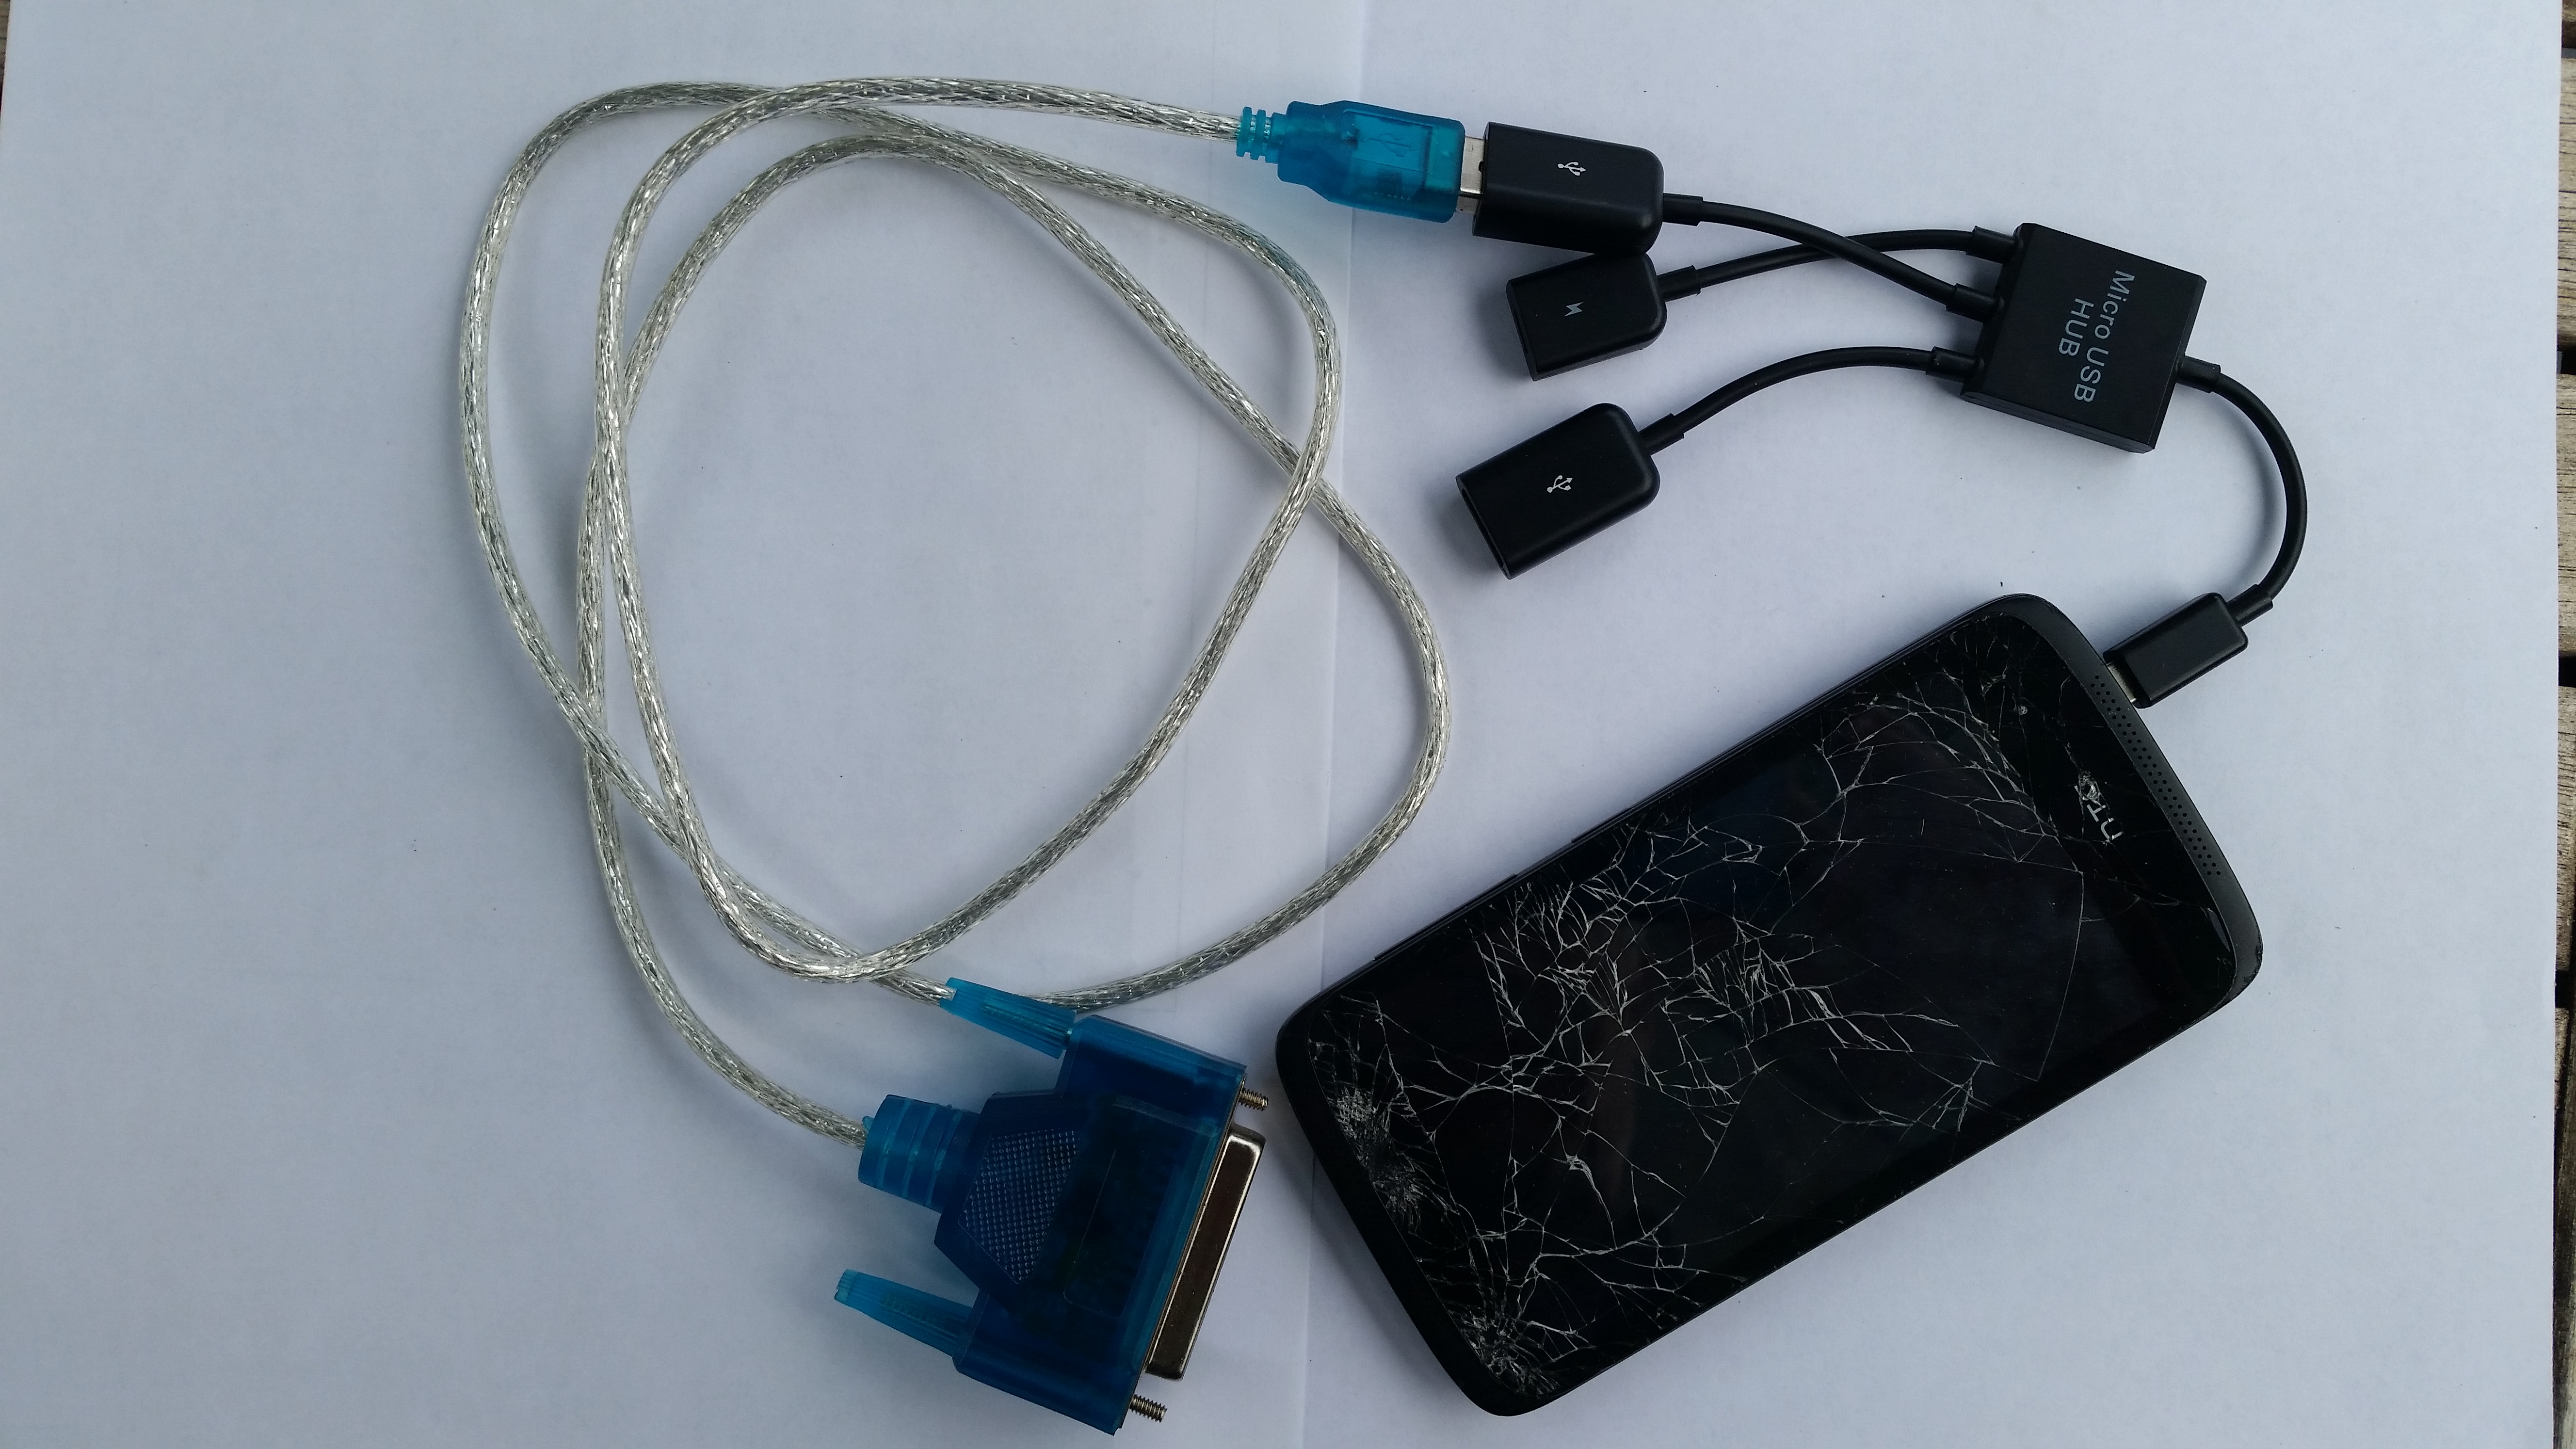
Smartphone connected through a USB-OTG hub to a USB to Parallel port cable
If you need a controller that also needs a camera, accelerometer, gyroscope, magnetometer, etc, this could be a reasonable option.
a) on a phone with USB-OTG (USB - On The Go) support (also known as USB-Host mode) through a parallel port
The USB interface is directional with one host that can communicate with a number of connected accessories. The connector on many smartphones only allow them to be an accessory. This allows the smartphones to be charged or connected to a personal computer to sync data such as photos. However, some smartphones, such as the Android Samsung S# series, allow an adapter to be plugged in that then allows USB accessories to be plugged in directly to the smartphone. An example of this would be to plug in a USB memory stick to an Android smartphone with USB-OTG which then allows the user to use the the Android File Manager to look at or move files to the USB memory stick.
With a smartphone with USB-OTG support and an adapter, you can connect a USB to parallel port cable just like the personal computer option described above.
To explore this approach, read Phone USB Controller, and download the Android USB-Controller app to your Android smartphone with USB-OTG support.
Link to USB-Controller for Android smartphones
or
Link to AVR-Controller for Android smartphones
b) through a headphone jack
If you're using Android, iOS, or Windows Phone there is a headphone jack. It supports a three pin communication interface: One pin in (for the microphone) and two pins out (for left and right stereo channels). The headphone jack also supplies a tiny amount of power, since the microphone that's embedded into earbuds does need a little power, which can be used to power an accessory.
You can read more about this approach at smartphone servo, and download the Android GlueMotor app to explore this approach.
Link to GlueMotor for Android smartphones
3) A Robotics Kit Embedded System Control Module
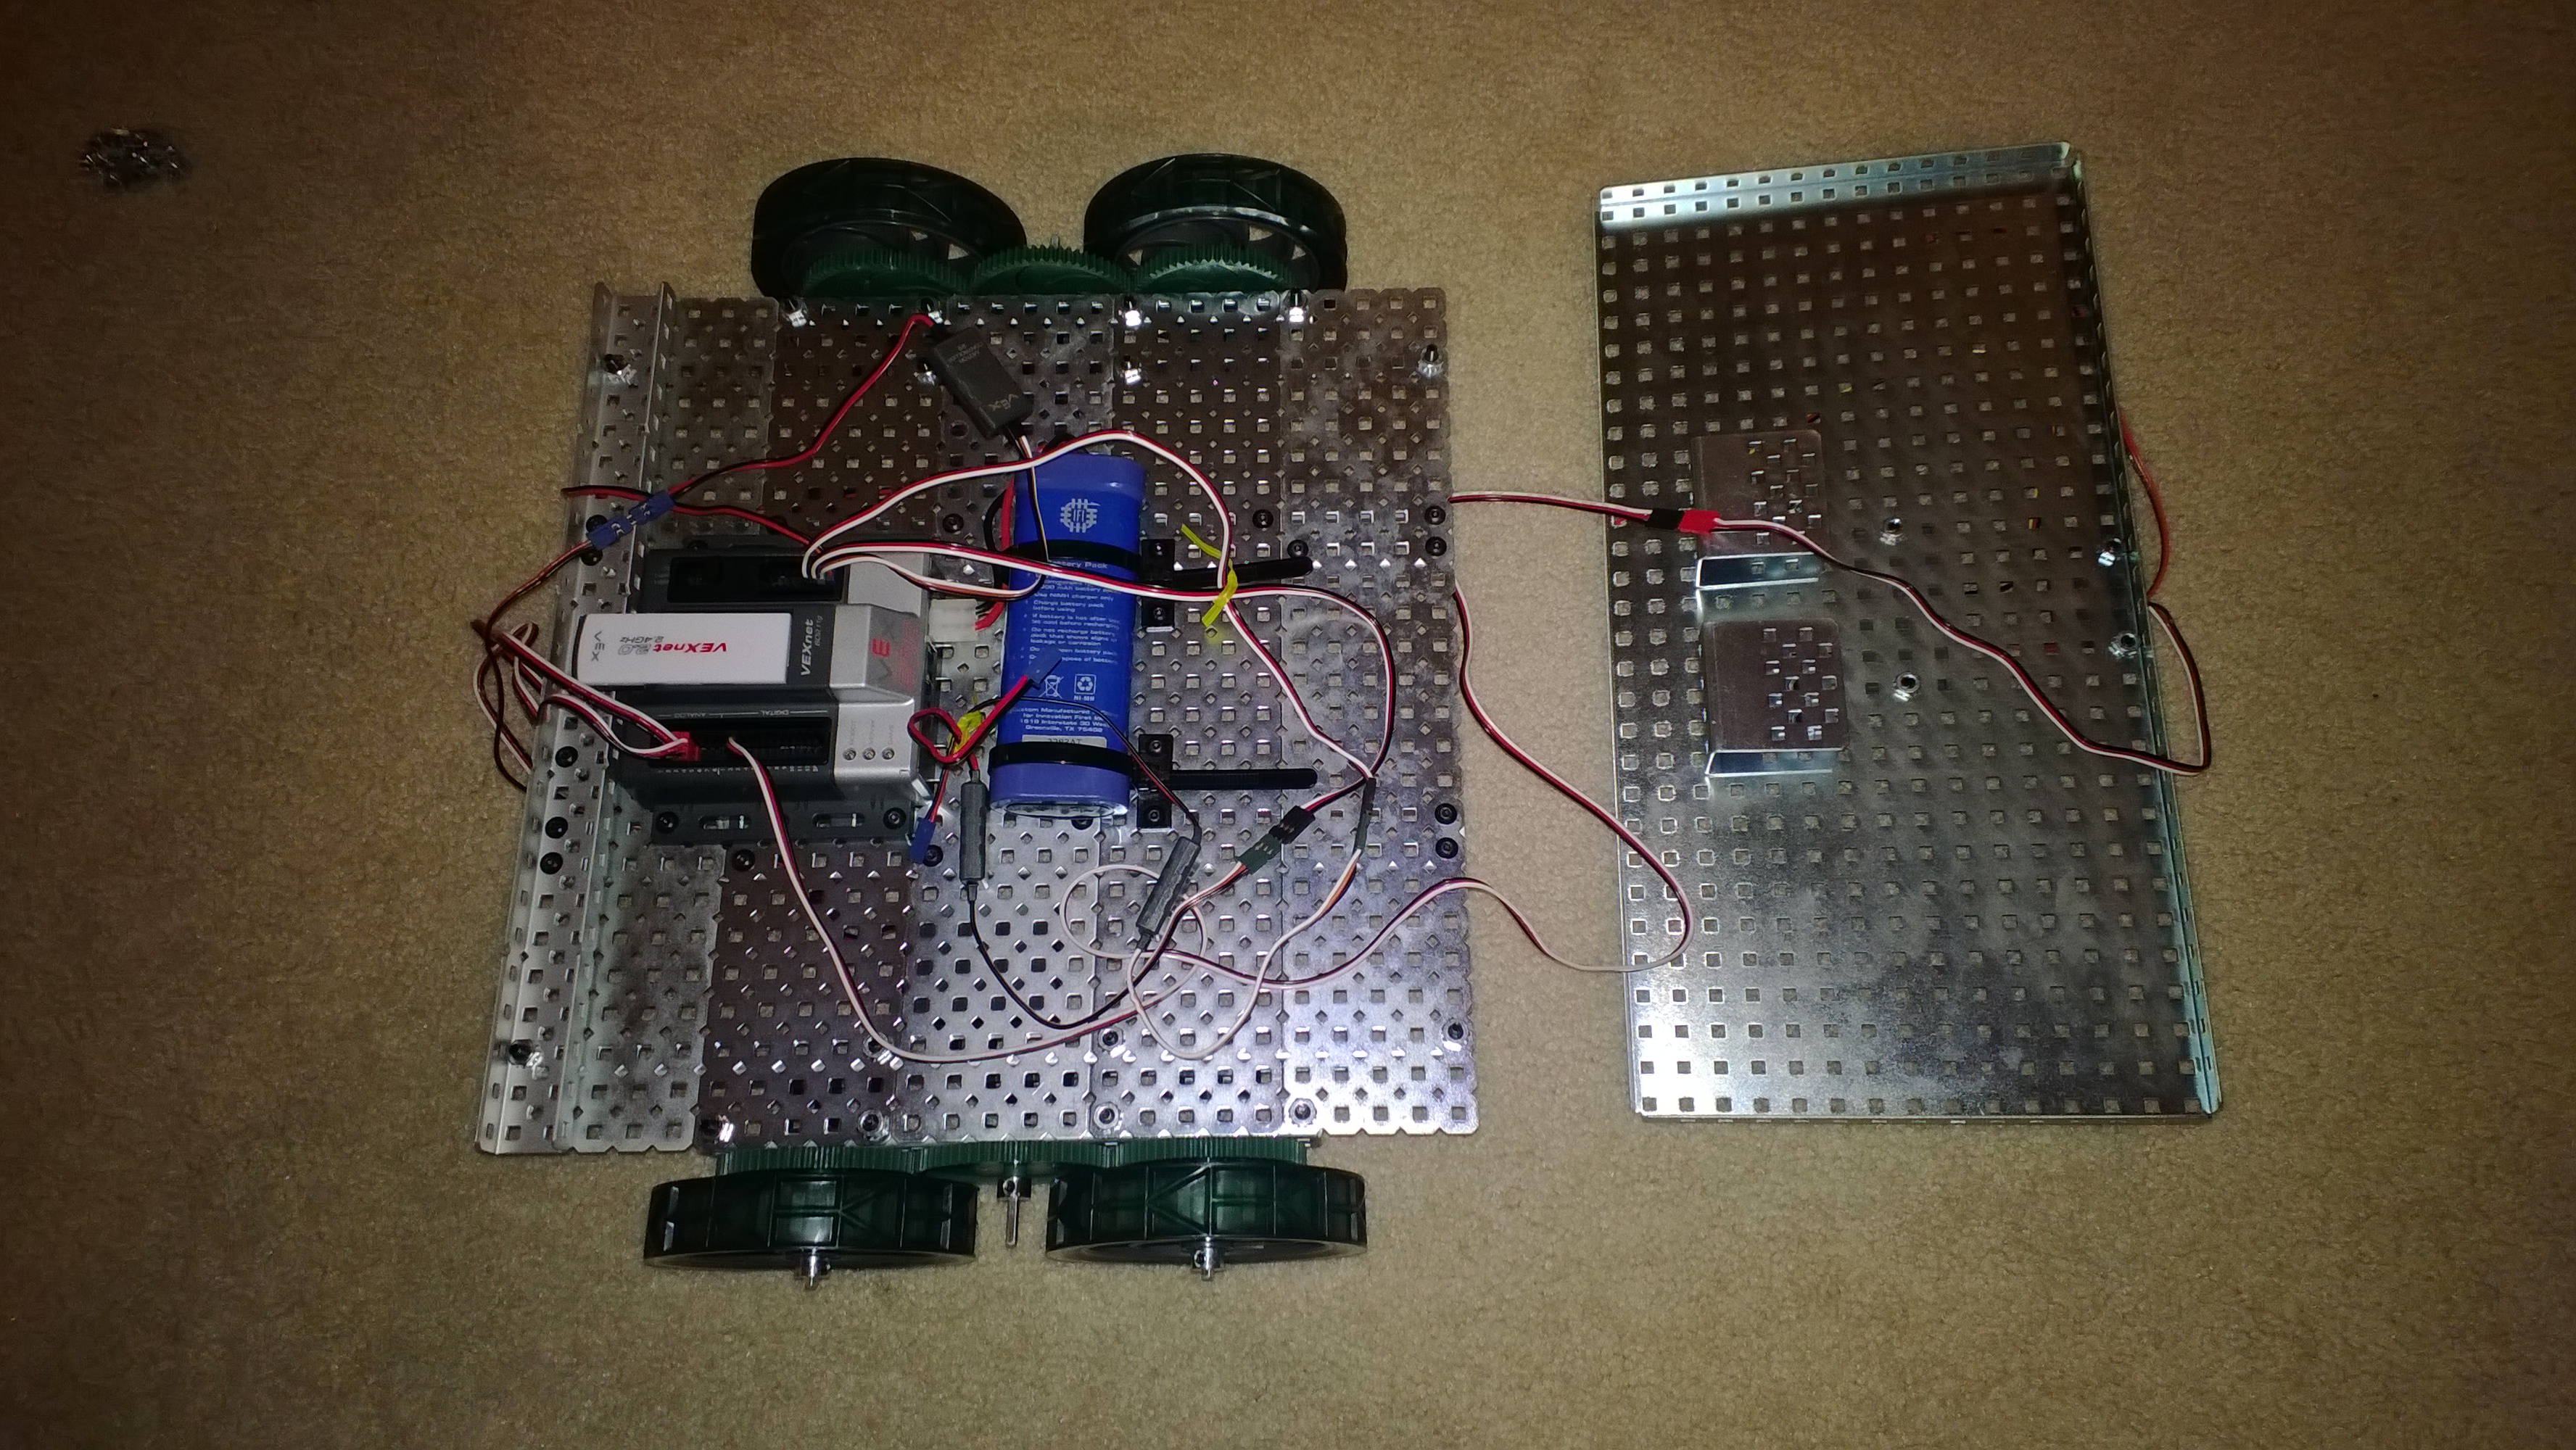
VEX Cortex control module mounted on a robot chassis
Examples of this include robotics control modules included with:
These companies produce not just the controller module, but various motors and sensors that go along with the modules. The best way to get started with these is to go to their websites. It's reasonably easy to use these modules to build robotics since that's what they're designed for; however, you might learn less and it might cost more.
4) An Embedded System Prototype Development Board
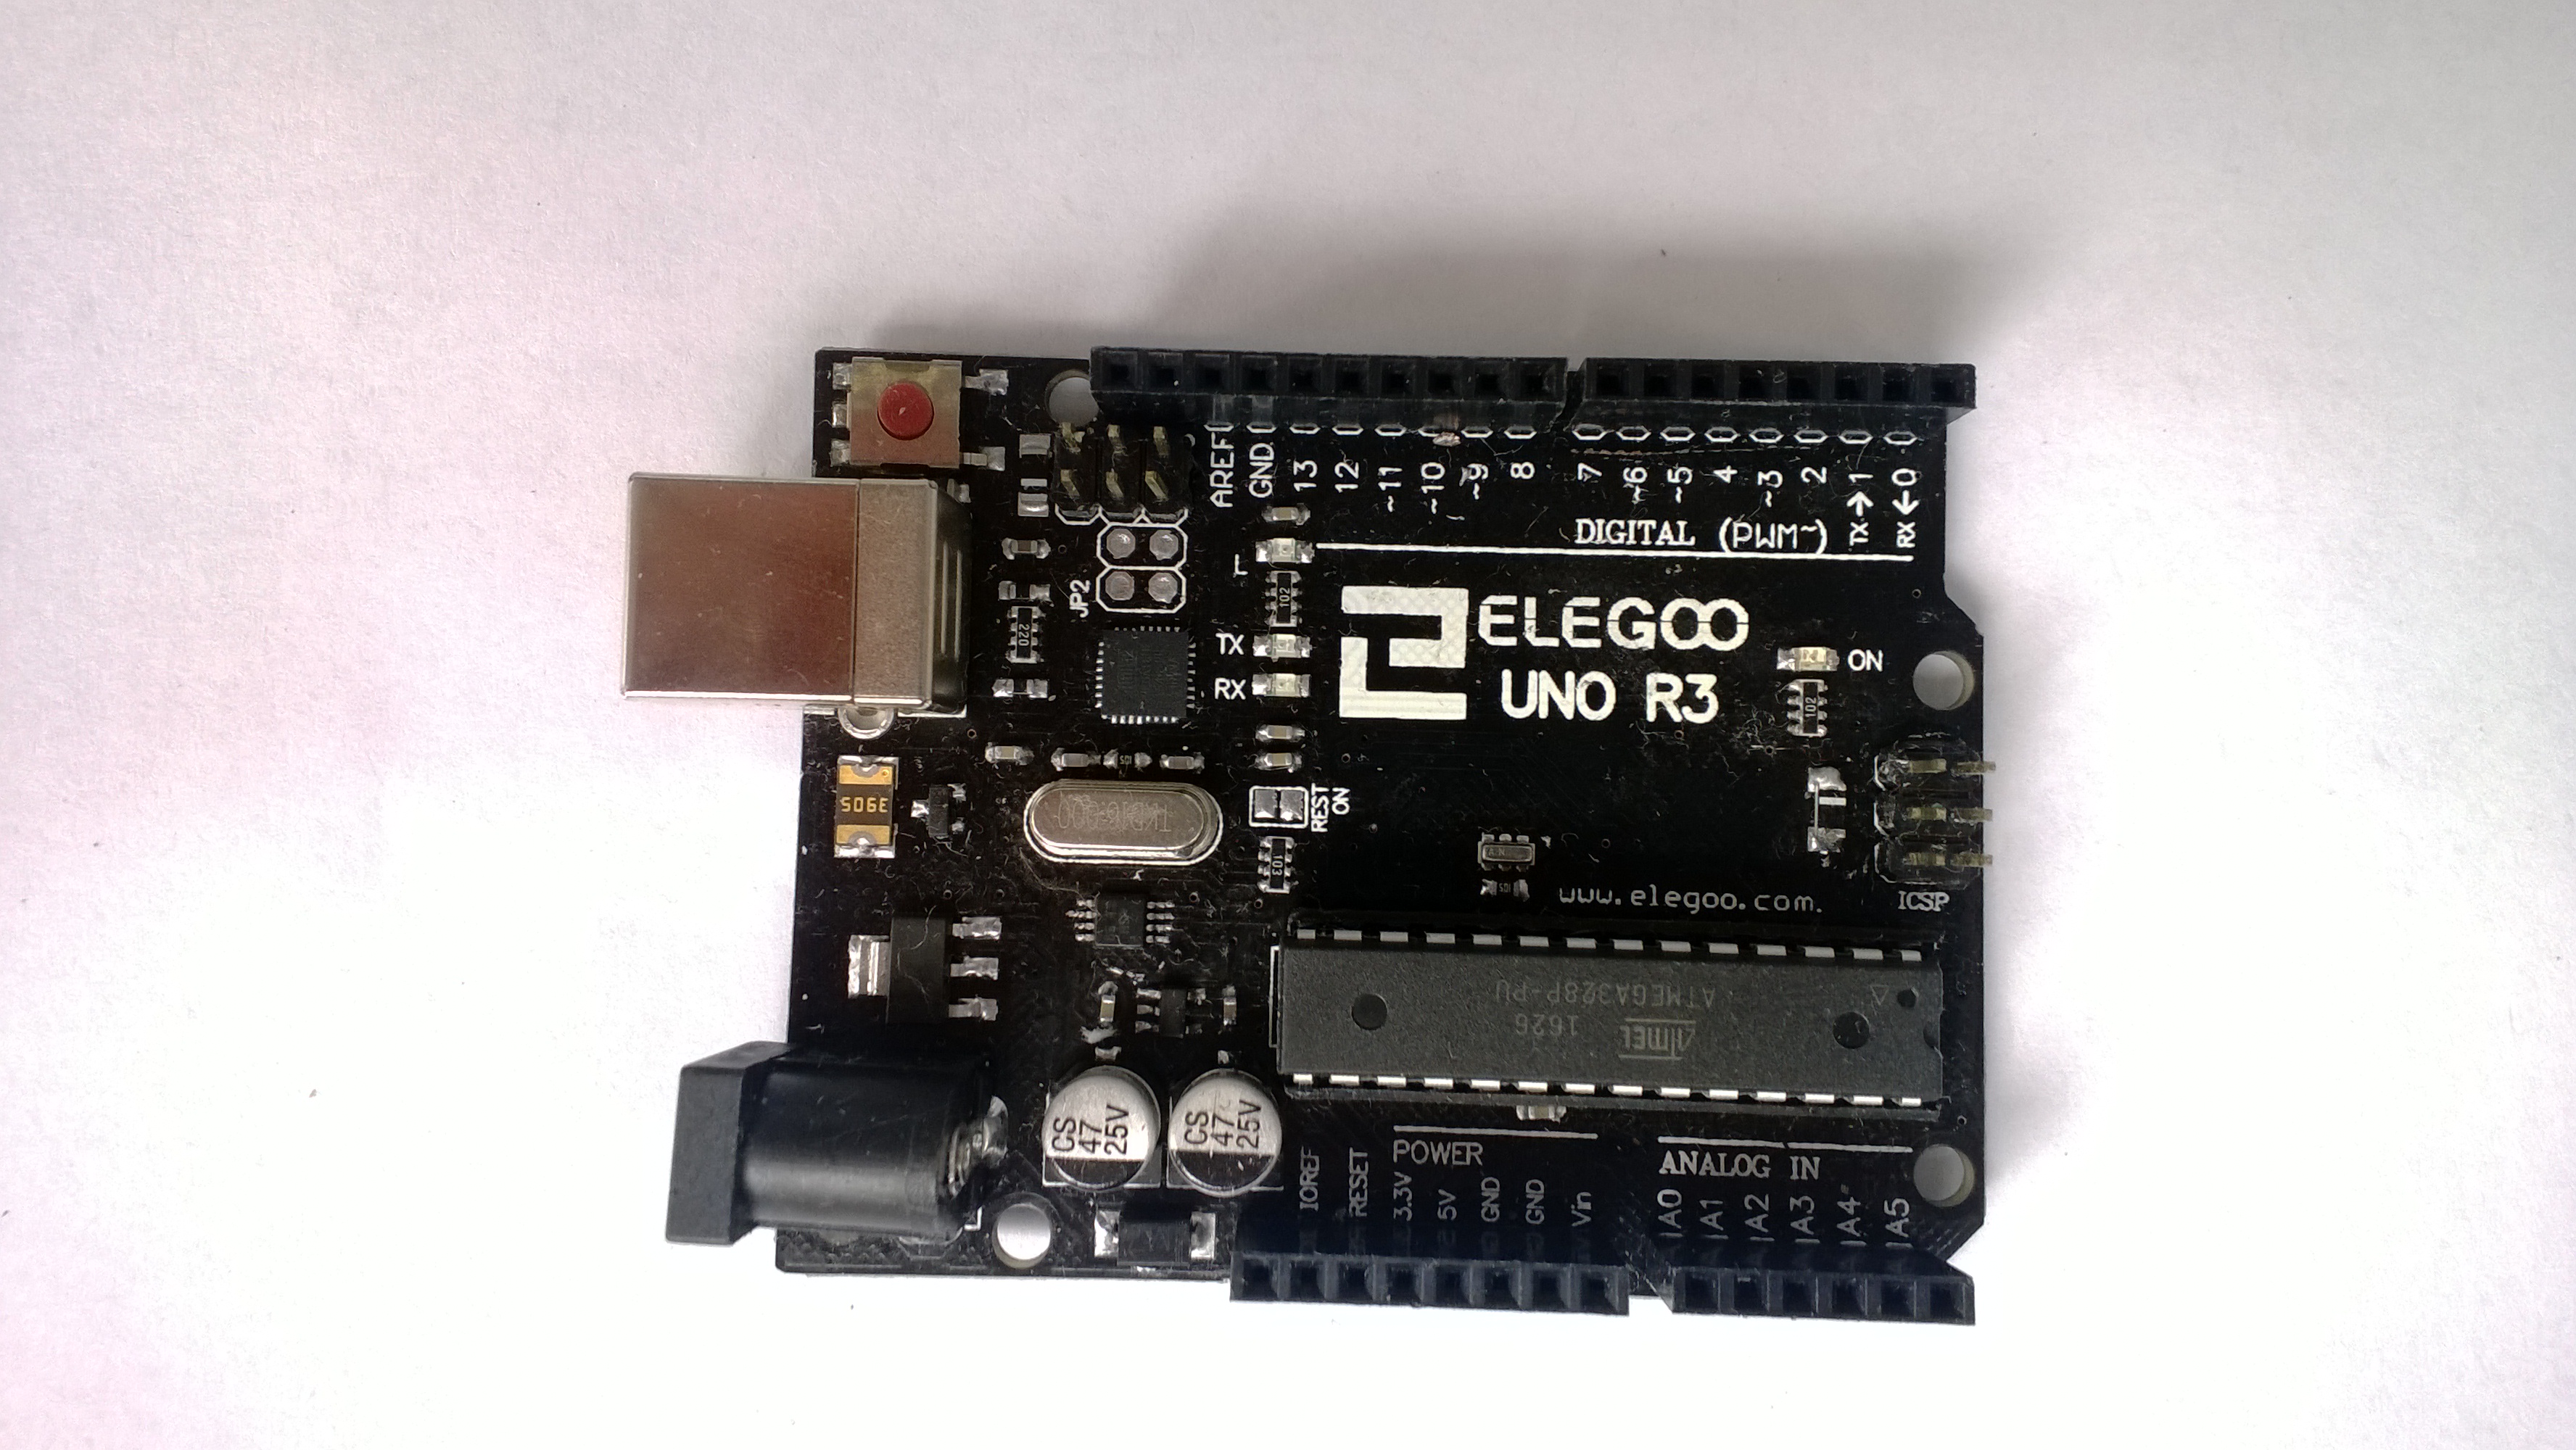
Arduino Uno board
Arduino, Keil, Futurlec, or any other prototype development boards using AVR , Z80 , or 8051 based processors are some examples of this. This link will provide more information on software development tools for programming these development boards.
- Link to CPUville : Original Z80 Computer Kit - Z80
- Link to Grant's 7-chip Z80 computer by Grant Searle - Z80
- Link to YAZ180 PCB : Modern Single Board Z80 PCB - Z80
- Link to YAZ180 : Modern Single Board Z80 Computer - Z80
- Link to RC2014 Mini : Single Board Z80 Computer Kit - Z80
- Link to The Handy Board - 68HC11
- Link to MINI-MAX/P18 - PIC
- Link to Ready for PIC Board - PIC
- Link to Futurlec PIC16F877 Development Board - PIC
- Link to MINI-MAX/51-D - 8051
- Link to Futurlec P89C51 Development Board - 8051
- Link to Futurlec 8051 Educational Board - 8051
- Link to MINI-MAX/MSP430-C - MSP430
- Link to Arduino Boards - AVR
- Link to MINI-MAX/AVR-C - AVR
- Link to Futurlec ATmega Development Board - AVR
- Link to Futurlec ATmega8 Educational Board - AVR
Elegoo UNO R3 Board ATmega328P ATMEGA16U2 with USB Cable for Arduino
Arduino Uno R3 Microcontroller A000066
See this Arduino Controller example for how to use an Arduino board to control an electric motor or solenoid.
Some RepRap 3D printer control boards are built using Arduino boards with AVR processors.
- Debug Z80 - Simulated Debug CPU - 8080,80c85,Z80

- Debug AVR - Simulated Debug CPU - AVR ATmega328

- Debug 6811 - Simulated Debug CPU - 68HC11

5) A Completely Custom Computer Solution
NASA or almost any other space programs spacecraft are typically custom controller designs. The electronics for these systems are typically placed in a warm electronic box (WEB) so that the electronics don't get too cold, or too hot.
You can build your own computer using a microprocessor as a starting point. Here are some examples:
- Link to CPUville : Original Z80 Computer Kit - Z80
- Link to Grant's 7-chip Z80 computer by Grant Searle - Z80
- Link to Grant's 8-chip (or 7-chip) 6502 computer by Grant Searle - 6502
Again, this link will provide more information on software development tools for programming these development boards. This Arduino Controller example of using an Arduino board to control an electric motor or solenoid would also apply to a custom computer solution.
- Debug Z80 - Simulated Debug CPU - 8080,80c85,Z80

- Debug 6502 - Simulated Debug CPU - 6502

- Debug 6811 - Simulated Debug CPU - 68HC11

A note on controlling a device through bluetooth, WiFi, USB-Accessory mode, ethernet network or etc. ...
What you're really doing is building an embedded device with it's own processor and having it communicate through a communication channel. In this case, you're really doing option 4 or 5 above, and adding a remote control element by having another device use remote communication to have the control device do something.
Text Copyright (C) 2017 - 2023 R. J. Kuhn. Please note that you are not allowed to reproduce or rehost this page without written permission.


